How to Create Procedural Terrain in Unity and Godot
23 January 2026
Creating breathtaking procedural terrains in Unity and Godot is a dream come true for game developers and enthusiasts. Whether you're building an open-world RPG, endless runner, or even a survival sandbox, procedural terrain generation is like the magic wand that brings your imagination to life. But let's be honest—it can also feel a bit daunting if you're getting started.
Don’t worry, though! I’m here to break it all down step by step, so you can craft your stunning landscapes without breaking a sweat. Grab a cup of coffee (or energy drink), and let’s dive into this amazing world of algorithms, code, and creativity.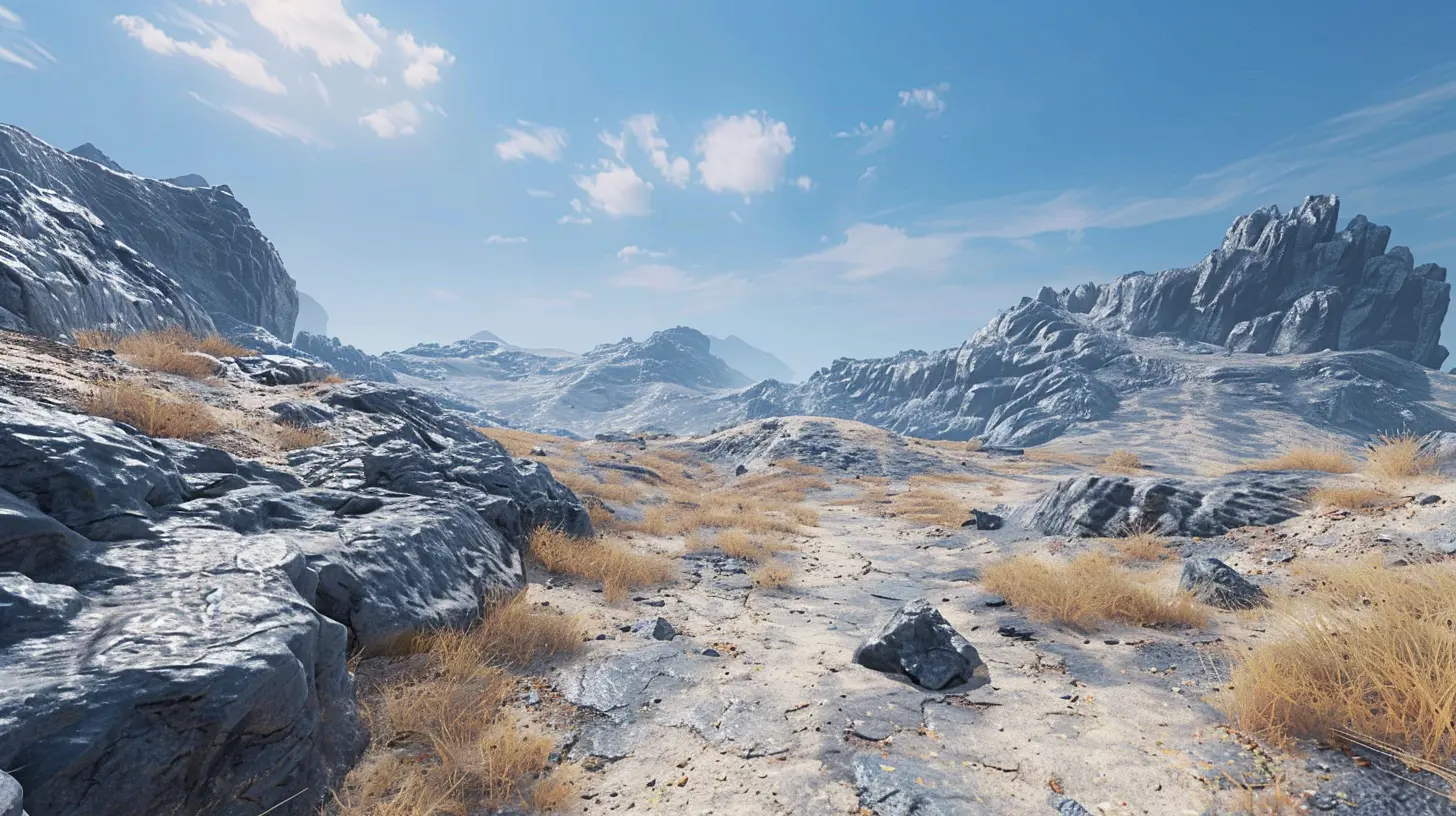
What Is Procedural Terrain Generation?
Before we start, let’s quickly go over what procedural terrain generation (fancy term, huh?) actually means. Imagine creating an infinite landscape, like Minecraft or No Man’s Sky, except you don’t painstakingly design every hill, valley, or tree by hand. Instead, you use algorithms to generate everything dynamically while the game runs.Why is this cool? Well, it saves you hours of manual work, adds infinite replayability, and gives your game that “wow” factor. Think of it like baking cookies—you’re letting the machine roll the dough and shape the cookies, but you still get to decide what flavors and toppings to sprinkle on top.
Now, let’s explore how this magic unfolds in Unity and Godot.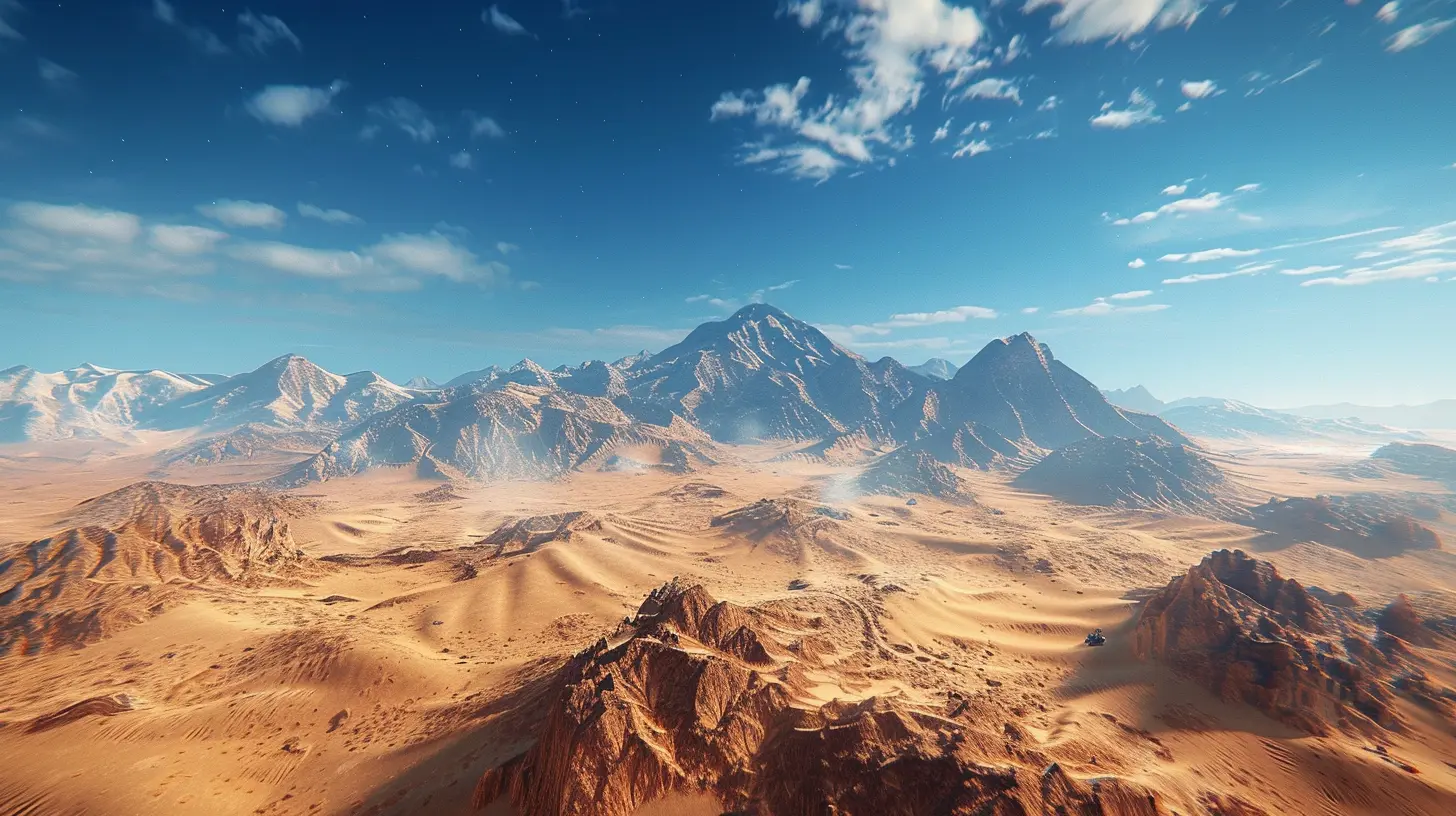
How Unity and Godot Handle Procedural Terrain
Unity and Godot are two of the most popular game engines out there, each with its strengths. Unity has a robust ecosystem with plenty of pre-made assets and tools, while Godot is lightweight, open-source, and great for learning.Both engines let you generate procedural terrains, but the approach differs slightly. Unity leans heavily on C
scripting and tools like Terrain Generators or Perlin Noise. Meanwhile, Godot uses GDScript (its Python-like language) and provides powerful Mesh generation features.
Let’s break this down further with some hands-on guides.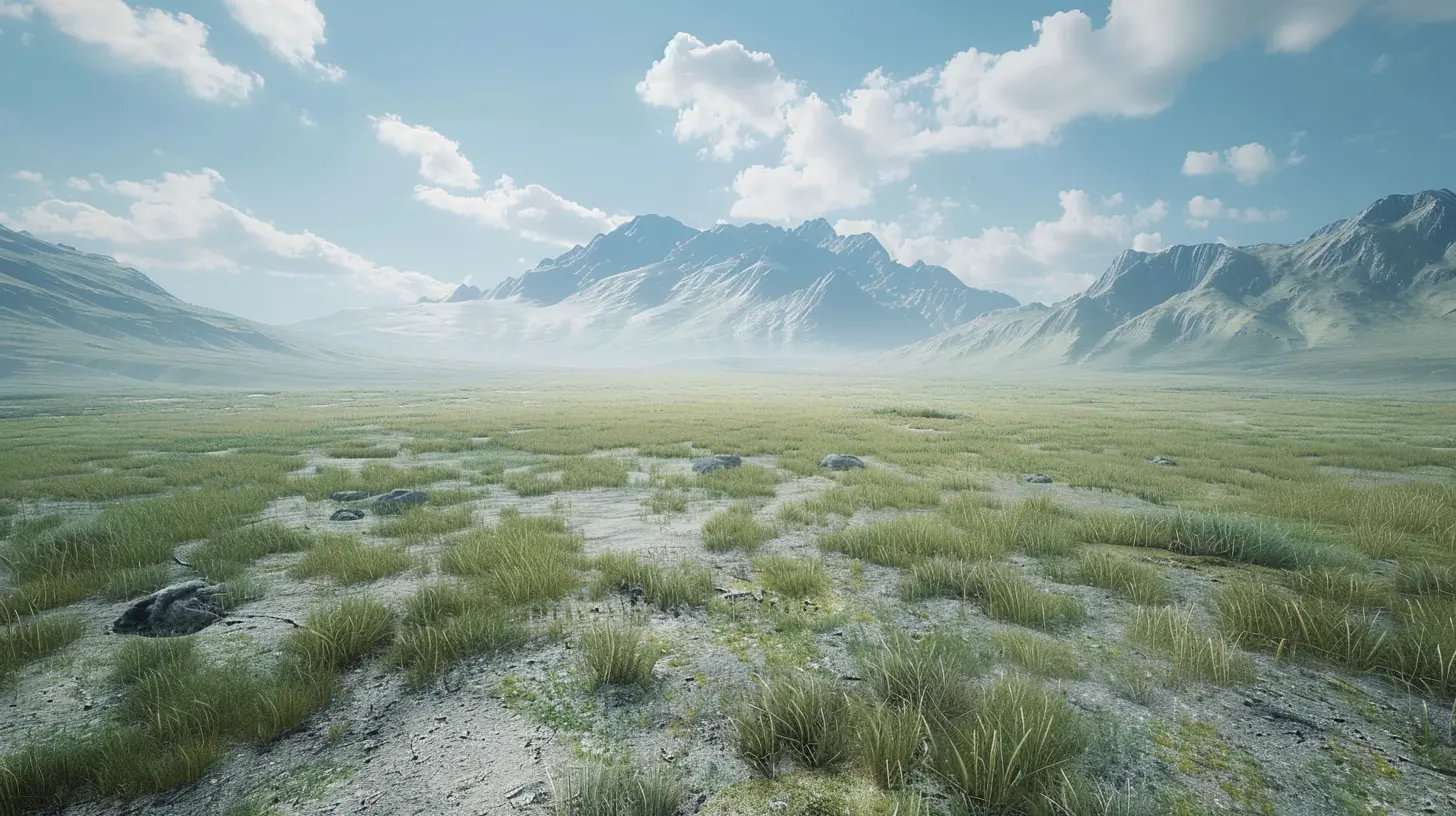
Procedural Terrain in Unity
Unity is a giant in the game development industry. Its versatility and libraries make it an excellent platform for creating procedural terrains. Let’s look at how to develop a simple terrain in Unity.1. Setting Up Unity
Before diving into terrain generation, you’ll need to set up your Unity project.1. Download Unity Hub: If you haven’t already, grab Unity Hub and download the latest version of Unity.
2. Create a New Project: Start a new 3D project since terrain generation works best in 3D environments.
3. Prep Your Environment: Make sure you have a clean scene—no distractions but the all-important Main Camera and Directional Light.
2. Understanding Perlin Noise
Perlin Noise is your best friend for procedural generation. Think of it as a way to create smooth, natural-looking randomness—perfect for things like hills and valleys. It’s like dropping a pebble in water and watching the ripples form.Unlike pure randomness, Perlin Noise looks organic, meaning it creates gradual shifts rather than abrupt changes. This is critical when building terrains that need to flow realistically.
3. Writing the Code
Now comes the fun part—writing the script!1. Create a New Script: Go to your project’s Scripts folder (or create one if it’s missing), and create a new C
script called `TerrainGenerator.cs`.
2. Attach the Script: Drag the script onto a GameObject in your scene.Here’s a simple example of using Perlin Noise:
csharp
using UnityEngine;public class TerrainGenerator : MonoBehaviour
{
    public int width = 256;
    public int depth = 256;
    public int height = 20;
    public float scale = 20f;    void Start()
    {
        GenerateTerrain();
    }    void GenerateTerrain()
    {
        Terrain terrain = GetComponent();
        terrain.terrainData = GenerateTerrainData(terrain.terrainData);
    }    TerrainData GenerateTerrainData(TerrainData terrainData)
    {
        terrainData.heightmapResolution = width + 1;
        terrainData.size = new Vector3(width, height, depth);
        terrainData.SetHeights(0, 0, GenerateHeights());
        return terrainData;
    }    float[,] GenerateHeights()
    {
        float[,] heights = new float[width, depth];
        for (int x = 0; x < width; x++)
        {
            for (int z = 0; z < depth; z++)
            {
                heights[x, z] = CalculateHeight(x, z);
            }
        }
        return heights;
    }    float CalculateHeight(int x, int z)
    {
        float xCoord = (float)x / width * scale;
        float zCoord = (float)z / depth * scale;        return Mathf.PerlinNoise(xCoord, zCoord);
    }
}
Run this script, and boom! You’ve got yourself a hilly terrain ready to explore. Tweak the values for width, depth, and height to customize your world.
Procedural Terrain in Godot
Godot may be smaller in scale compared to Unity, but it packs a punch when it comes to flexibility. Procedural terrain generation here revolves around working with Meshes and heightmaps.1. Setting Up Godot
1. Download Godot: Start by downloading the latest version of Godot from its official site.2. Create a New Project: Fire up a new 3D project and set the stage for your terrain masterpiece.
2. Using the Noise Texture
Godot comes with a built-in `OpenSimplexNoise` resource—similar to Perlin Noise. This makes life a lot easier when generating terrains.1. Create a Script: Add a new GDScript to your scene. Let’s call it `TerrainGenerator.gd`.
2. Start Writing the Code: The following code uses a `PlaneMesh` to generate terrain:
gdscript
extends MeshInstanceonready var noise := OpenSimplexNoise.new()
export var width: int = 100
export var depth: int = 100
export var height: int = 20
export var scale: float = 20.0
func _ready():
generate_terrain()
func generate_terrain():
var mesh := PlaneMesh.new()
mesh.size = Vector2(width, depth)
var surface := mesh.surface_get_arrays()
var vertices = surface[0]
for i in range(vertices.size()):
var x = i % (width + 1)
var z = i / (width + 1)
var y = noise.get_noise_2d(x / scale, z / scale) * height
vertices[i].y = y
surface[0] = vertices
mesh.surface_set_arrays(0, surface)
mesh.update_gizmos()
self.mesh = mesh
This code dynamically adjusts the heights of a `PlaneMesh` based on noise values, creating a natural-looking terrain.
3. Tweak the Parameters: Experiment with the `scale` and `height` values to adjust the ruggedness of your terrain.
Tips and Tricks for Better Results
Procedural generation is as much about creativity as it is about coding. Here are some tips to make your terrains shine:1. Add Textures: Use materials and shaders to give your terrain some personality. Think grass for plains, rocky textures for mountains, and sand for deserts.
2. Combine Noise Layers: Mix multiple layers of noise (think of it like stacking pancakes) to create more intricate landscapes with cliffs, smooth valleys, or even craters.
3. Performance Matters: Keep an eye on performance! Generating massive terrains can tank your frame rate. Consider using LOD (Level of Detail) techniques or chunk-based loading for optimization.
Wrapping Up
And there you have it! Creating procedural terrain in Unity and Godot is easier than you might think—just a sprinkle of Perlin or OpenSimplex noise and some tinkering with your scripts. Both engines have their quirks, but with a bit of practice, you'll be crafting sprawling landscapes faster than you can say "sandbox."So, what kind of world will you create next? A serene forest? A desolate alien planet? The sky (or the algorithm) is the limit!
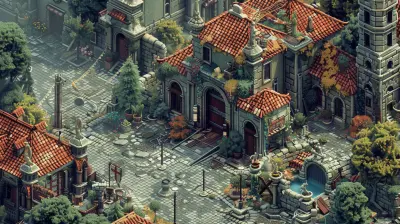
all images in this post were generated using AI tools
Category:
Game EnginesAuthor:

Emery Larsen
Discussion
rate this article
2 comments
Maggie Benson
Exciting tutorial! Can't wait to explore!
January 25, 2026 at 4:50 PM
Emery Larsen
Thank you! I'm glad you're excited to dive in!
Nolan McIntire
Creating procedural terrain can be a fascinating journey, blending creativity with technical skills. Whether you're using Unity or Godot, remember that it's okay to face challenges along the way. Embrace each step as a learning opportunity, and don't hesitate to seek support from the community. Happy developing!
January 23, 2026 at 5:22 AM
Emery Larsen
Thank you! Embracing challenges is key, and community support truly makes the journey enjoyable. Happy developing to you too!